
I naturally am a very messy cook
this is something I unfortunately pass on to kids when I cook with them.
I'm a believer in embracing my faults I can't change
sooooooo
LETS MAKE A MESS!
This is a SUPER simple recipe to make edible finger paints with your little ones.
They love to help stir this up, get messy, lick their fingers, and make some art all at the same time!
Start with the ingredients:
These are all inexpensive items you may already have in your house

PUDDING CUPS

FROZEN BLUEBERRIES

FROZEN SPINACH

FROZEN CHERRIES
Step One:
Place each frozen item in the microwave for about 1 minute
with the fruit this gives it just enough time to thaw and release some juice
Step Two:
Pour liquid directly into pudding cup
don't add the actual fruit, this keeps the paint smooth
For spinach: add thawed spinach and pudding into blender
blend up smooth (will still be a little lumpy)
pour blended mixture back into pudding cup
If you would like a stronger color add fruit into blender with a pudding cup
(leave out the juice)
(leave out the juice)
Let the kids stir the colors all together.
With the blueberries and cherries stir the juice in just a little bit
this way you won't have to worry about the juice staining the child if they get it on them!

Step Three:
Gather items to use as painting tools
I love using the bottom end of a green onion
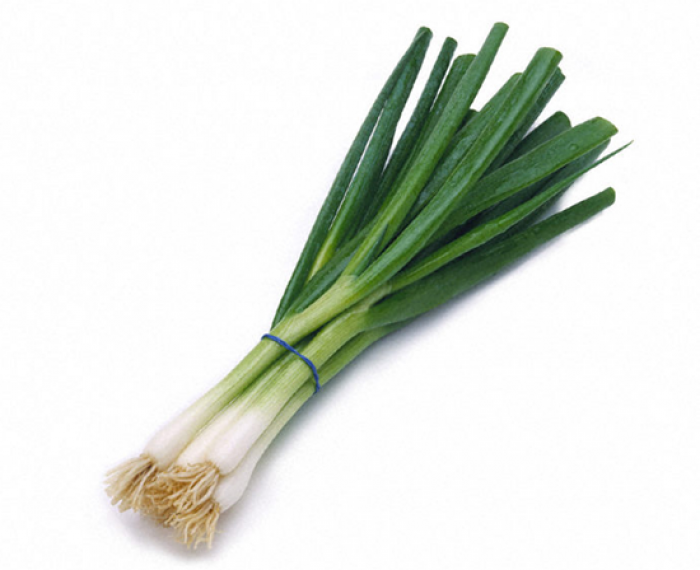
The roots make great paint brushes
Find some fruit you might have laying around
cored apple rings make great circles
and the hole in the middle gives the child a handle to grab onto
carrots can be made into flower and heart shapes by cutting Vs into the side
and the classic potato stamp is always a trusty go to
Step 4:
What to paint on?
I like to use old paper bags

This gives plenty of room for the child to paint on
Also try using the packaging the pudding cups came in to make a silly face

Let the kids creativity run wild!
My favorite kitchen helpers tested out the flavors, we gave them 2 thumbs up


Make sure to set some of the mixed pudding aside
this can be used to make into a fun snack
layer different colors in a clear class dish
add granola, fruit, or crushed up cereal between each layer
Create & Enjoy!

Tips:
*Use the cups that the pudding came in to put the paint colors into
this saves you extra clean up
*Do this activity at the table, on the kitchen floor, or out in the yard
that way it's an easy wipe down when you're all done
*Take a picture of the artwork when the kids are finished
because the pudding can spoil you can't frame the painting
but you can frame the picture of the painting!
*let kids pick out some of the things to paint with
they may have an idea that would have never crossed your mind
*play around with different foods for different colors
carrots make a great orange color
*if your pooch does decide to join in on the fun
a little of the pudding won't hurt them
BUT
don't let them have too much!
Just a lick or two.
My dogs have iron guts but dogs shouldn't have too much sweet stuff.

No comments:
Post a Comment